Display pixel art or a low-resolution game with crisp enlarged pixels
Enlarge a sharp pixel-art source without smoothing its edges. You will first test a known 2× enlargement, then compare a fractional size. BetterDisplay’s Integer Scaling chooses nearest-neighbor sampling; you still choose the source and destination sizes that make each source pixel an equal-sized block.
Before you begin
- Keep BetterDisplay running. This example needs an actually supported 1920 × 1080 LoDPI virtual source, a separate connected 3840 × 2160 physical receiver operating at its native output size, and a visible physical recovery desktop. Use extended desktops, not a mirror relationship. A connected open MacBook display can be the recovery desktop.
- Use a small, already-owned or licensed pixel-art image with sharp, known single-pixel edges and no baked-in blur. Choose harmless content that fits inside the source desktop at its original size. Keep the entire source desktop and the receiver’s underlying desktop free of private windows and notifications.
- Record all existing physical and virtual displays’ current modes, positions, main display, and the original app-window positions. Record independent protection targets and pause only rules that would interfere with the trial. Keep current values separate from saved targets. Preserve existing stream configurations, targets and active/paused/hidden/resume states: starting another stream can stop a competing receiver or reverse stream and can transfer the main display from receiver to source.
- Record Settings > Displays > Overview > Advanced Display Settings… > Switch to native mode for full screen stream target. Leave it off for this test; it defaults off. Choose and verify the receiver’s mode yourself before streaming. If recovery uses the built-in display, record and temporarily turn off Settings > Displays > Overview > Connection Management Settings… > Disconnect built-in display when an external display is connected. Keep connection safeguards.
- Record Settings > Displays > Overview > Advanced Virtual Screen Settings…. On Apple silicon, Restore display layout after connecting a virtual screen defaults on and can restore modes and positions across existing physical and virtual displays during connection. Check all of them afterwards. If Reconnect all remaining connected virtual screens after disconnecting one is on, record and temporarily turn off only that choice for cleanup. Leave wake/lock workarounds unchanged.
- Follow BetterDisplay’s actual macOS screen-capture request and any requested relaunch. Review access in System Settings > Privacy & Security > Screen & System Audio Recording if needed; audio-only access cannot capture the desktop. See Apple’s screen-access instructions.
Check feature availability below before creating the trial. This setup adds a virtual screen and a stream; it does not change a game’s renderer or enable a graphics-driver feature.
Choose the source and output sizes
- Open Settings > Displays > Overview > Create New Virtual Screen…. Choose Pre-configured settings (recommended) and 16:9 - HD/4K/5K/6K, then Create Virtual Screen. This creates a disconnected definition. Leave Match aspect ratio of and associate to a display unused and all Associated Displays selections off.
- Record the new definition’s actual identity. If available, set a distinctive Virtual screen name while it is disconnected. Turn on Connect this virtual screen and wait for a real connected source. Check every pre-existing physical and virtual display’s mode, main status and position against your record before continuing.
- Open App Menu > [new virtual source] > Virtual Screen Mode. Select an actually offered 1920 × 1080 LoDPI mode. Do not select its HiDPI counterpart: a 1920 × 1080 logical HiDPI source can contain 3840 × 2160 backing pixels.
- Open Settings > Displays > [new virtual source] > Display Information…. Under Current Display Mode, verify Logical width/Logical height and Pixel width/Pixel height are both 1920 × 1080. Check the receiver’s information too: its pixel dimensions must be 3840 × 2160, with the physical panel actually using that native output without an additional scaling stage. Select only a supported receiver mode through App Menu > [receiver] > Display Mode if a change is needed, preserving its original mode and protection target.
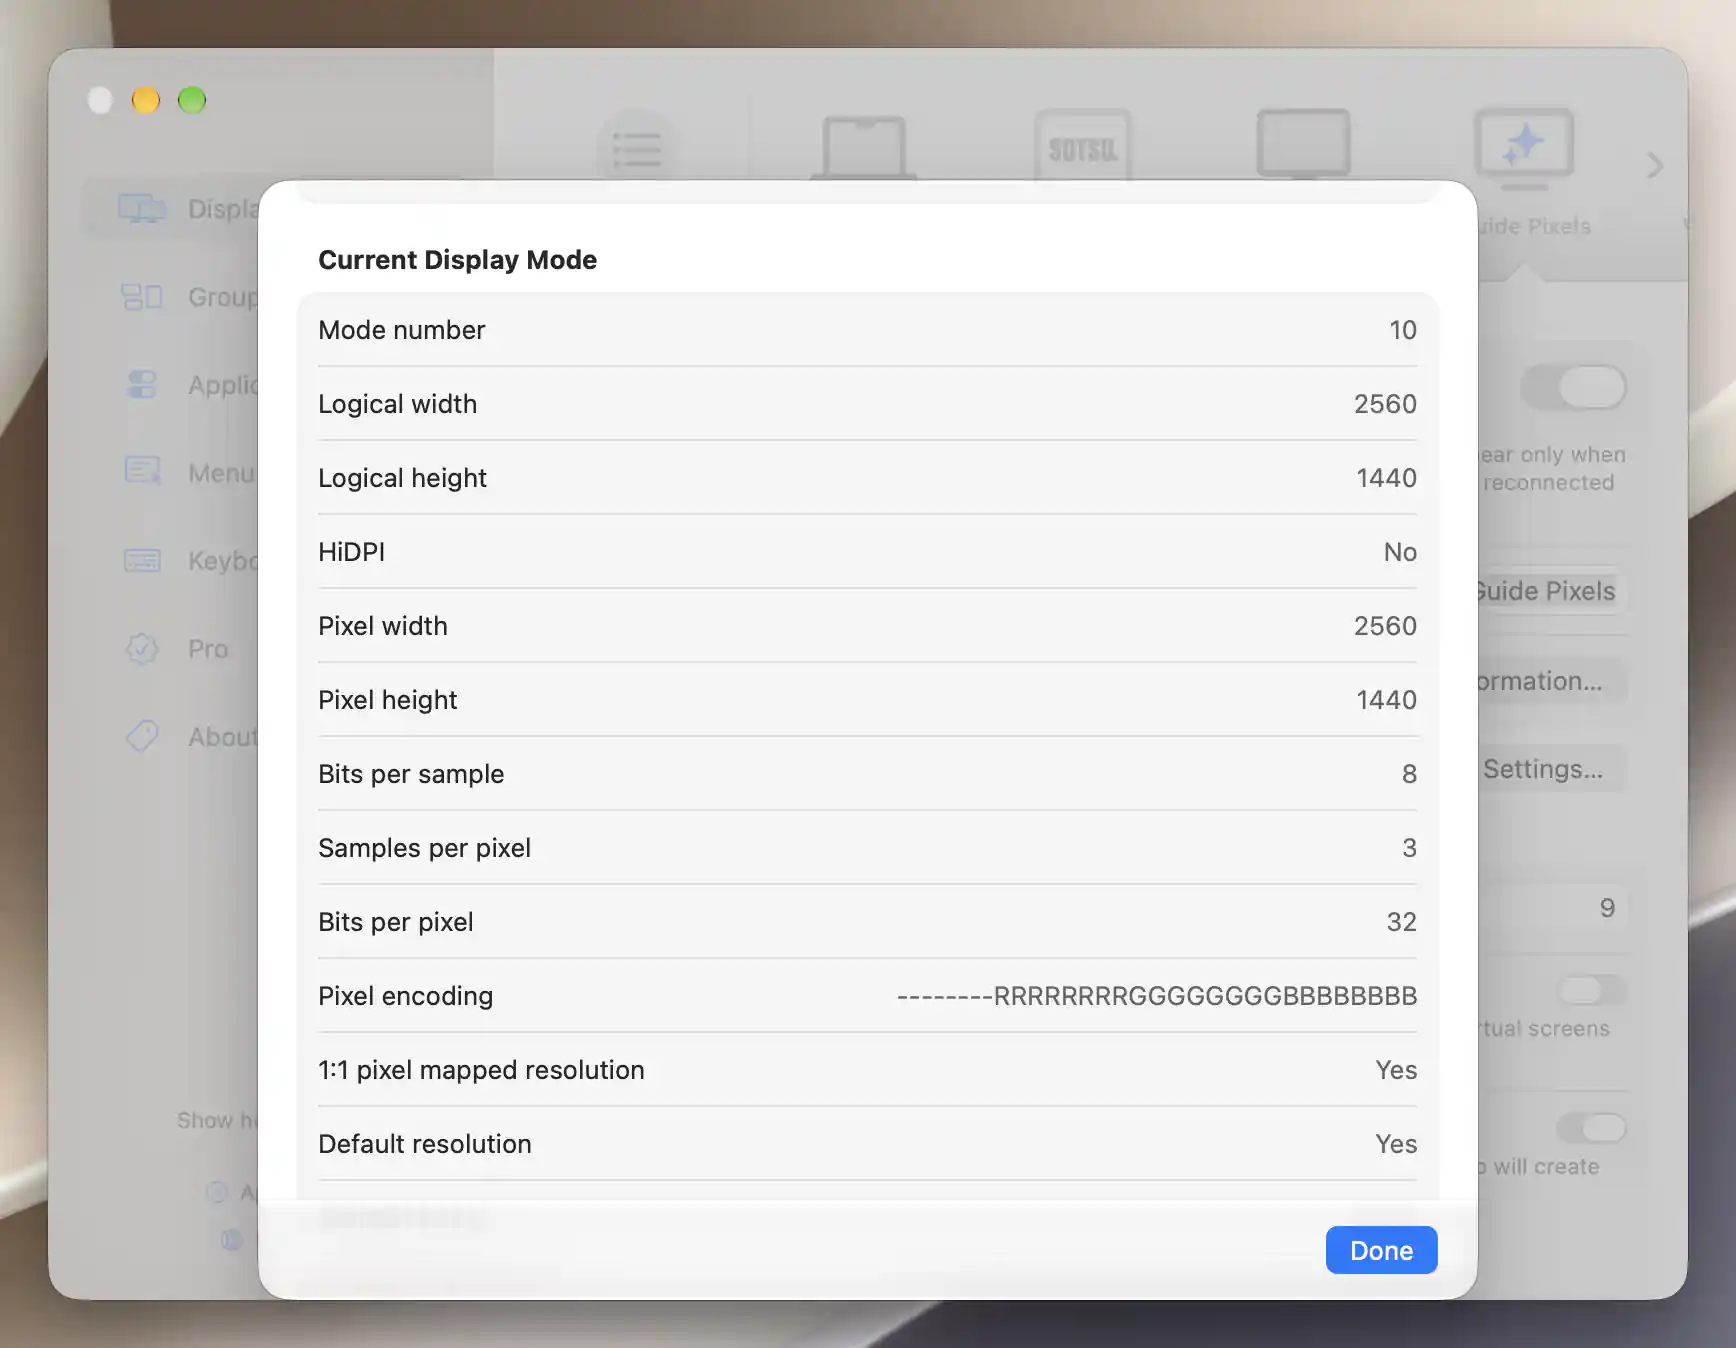
Check the source’s pixel dimensions as well as its logical size before calculating the enlargement.
The receiver’s logical desktop may be 1920 × 1080 HiDPI or 3840 × 2160 LoDPI. The important comparison is the captured source pixels against the final panel pixels, with no later resampling. The example gives 3840 ÷ 1920 = 2 horizontally and 2160 ÷ 1080 = 2 vertically: each source pixel can occupy a 2 × 2 panel block. A logical-size label alone does not establish that result.
Prepare a sharp source image
- Open the approved image in Preview. Privately record its original image dimensions, viewing scale and window position; Preview’s toolbar Info button opens its Inspector. See Apple’s image-information instructions. Do not resize or edit the image for this test.
- Record Preview’s existing image-scale preference. Open Preview > Settings > Images. For Define 100% scale as, choose 1 image pixel equals 1 screen point. Then choose View > Actual Size in the image window. These are Preview’s scale definition and viewing-size commands; use the actual choices offered on your macOS version.
- Move that original window onto the new LoDPI source using the real display arrangement. Keep the whole image visible without changing its scale. On this verified LoDPI source, one screen point corresponds to one captured pixel. Confirm the fixture itself has crisp single-pixel edges before enlargement. On a HiDPI source, Preview’s screen-point definition would not mean one captured or panel pixel.
Enlarge with nearest-neighbor sampling
- Open the attached App Menu > [new virtual source] > Stream Virtual Screen. Find that source’s original/default entry; only it offers Add Stream Configuration. Add one fresh configuration, wait for the entry to appear and record its actual numbered label. Preserve any default or existing additional configurations.
- While this new entry is stopped, leave Full Screen Window Mode, Resume Stream on Connect and Show on Lock Screen off. Leave Prevent Cursor Entering off if shown; Option or Shift exposes advanced rows. Keep recovery visible.
- Turn on Integer Scaling; it defaults off. Keep 1:1 Pixel Mapping and Free Aspect Ratio off. Keep Video Filters off with no enabled custom filters, Enable Cropping off, and no flip or rotation. Leave alignment centered and Zoom, Underscan and Alpha at 100%.
- Keep the initial Target FPS of Unlimited. Select the actual connected physical receiver in this new stream’s target list. Choose a different display from the source and one that is not a mirror target. Wait for an actual image and for pending display/menu changes to settle.
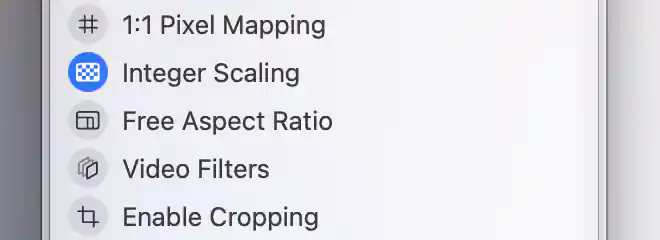
Integer Scaling selects nearest-neighbor sampling; source and output dimensions determine whether the enlargement is a whole number.
The ordinary borderless overlay fills the receiver. Operate the original source window, keeping the independent physical desktop available. A stream can transfer the main display when its receiver was main; check it rather than assuming it stayed unchanged. 1:1 Pixel Mapping uses logical dimensions, so it is not a shortcut to one physical panel pixel per captured pixel.
Check the result
- Look at the actual receiver. On the unchanged sharp fixture, single-pixel lines should become equally wide two-pixel blocks in both directions under the verified 2× conditions. Confirm the complete source fits without cropping, stretching or an unexpected border. A screenshot or an enabled setting alone does not prove the panel’s final sampling.
- In the same new stream entry, temporarily set Zoom to 75%, keeping Integer Scaling on and every other choice fixed. With the verified full-fit 2× setup, the centered image becomes 2880 × 1620 panel pixels: 1.5× in each direction. Nearest-neighbor sampling can keep edges hard while distributing unequal one- and two-pixel blocks. The surrounding receiver background is expected.
- Restore Zoom to 100%, let the geometry settle, and check the equal blocks again. If the actual dimensions or later scaling differ, the numerical comparison does not apply; fix those before drawing a conclusion.
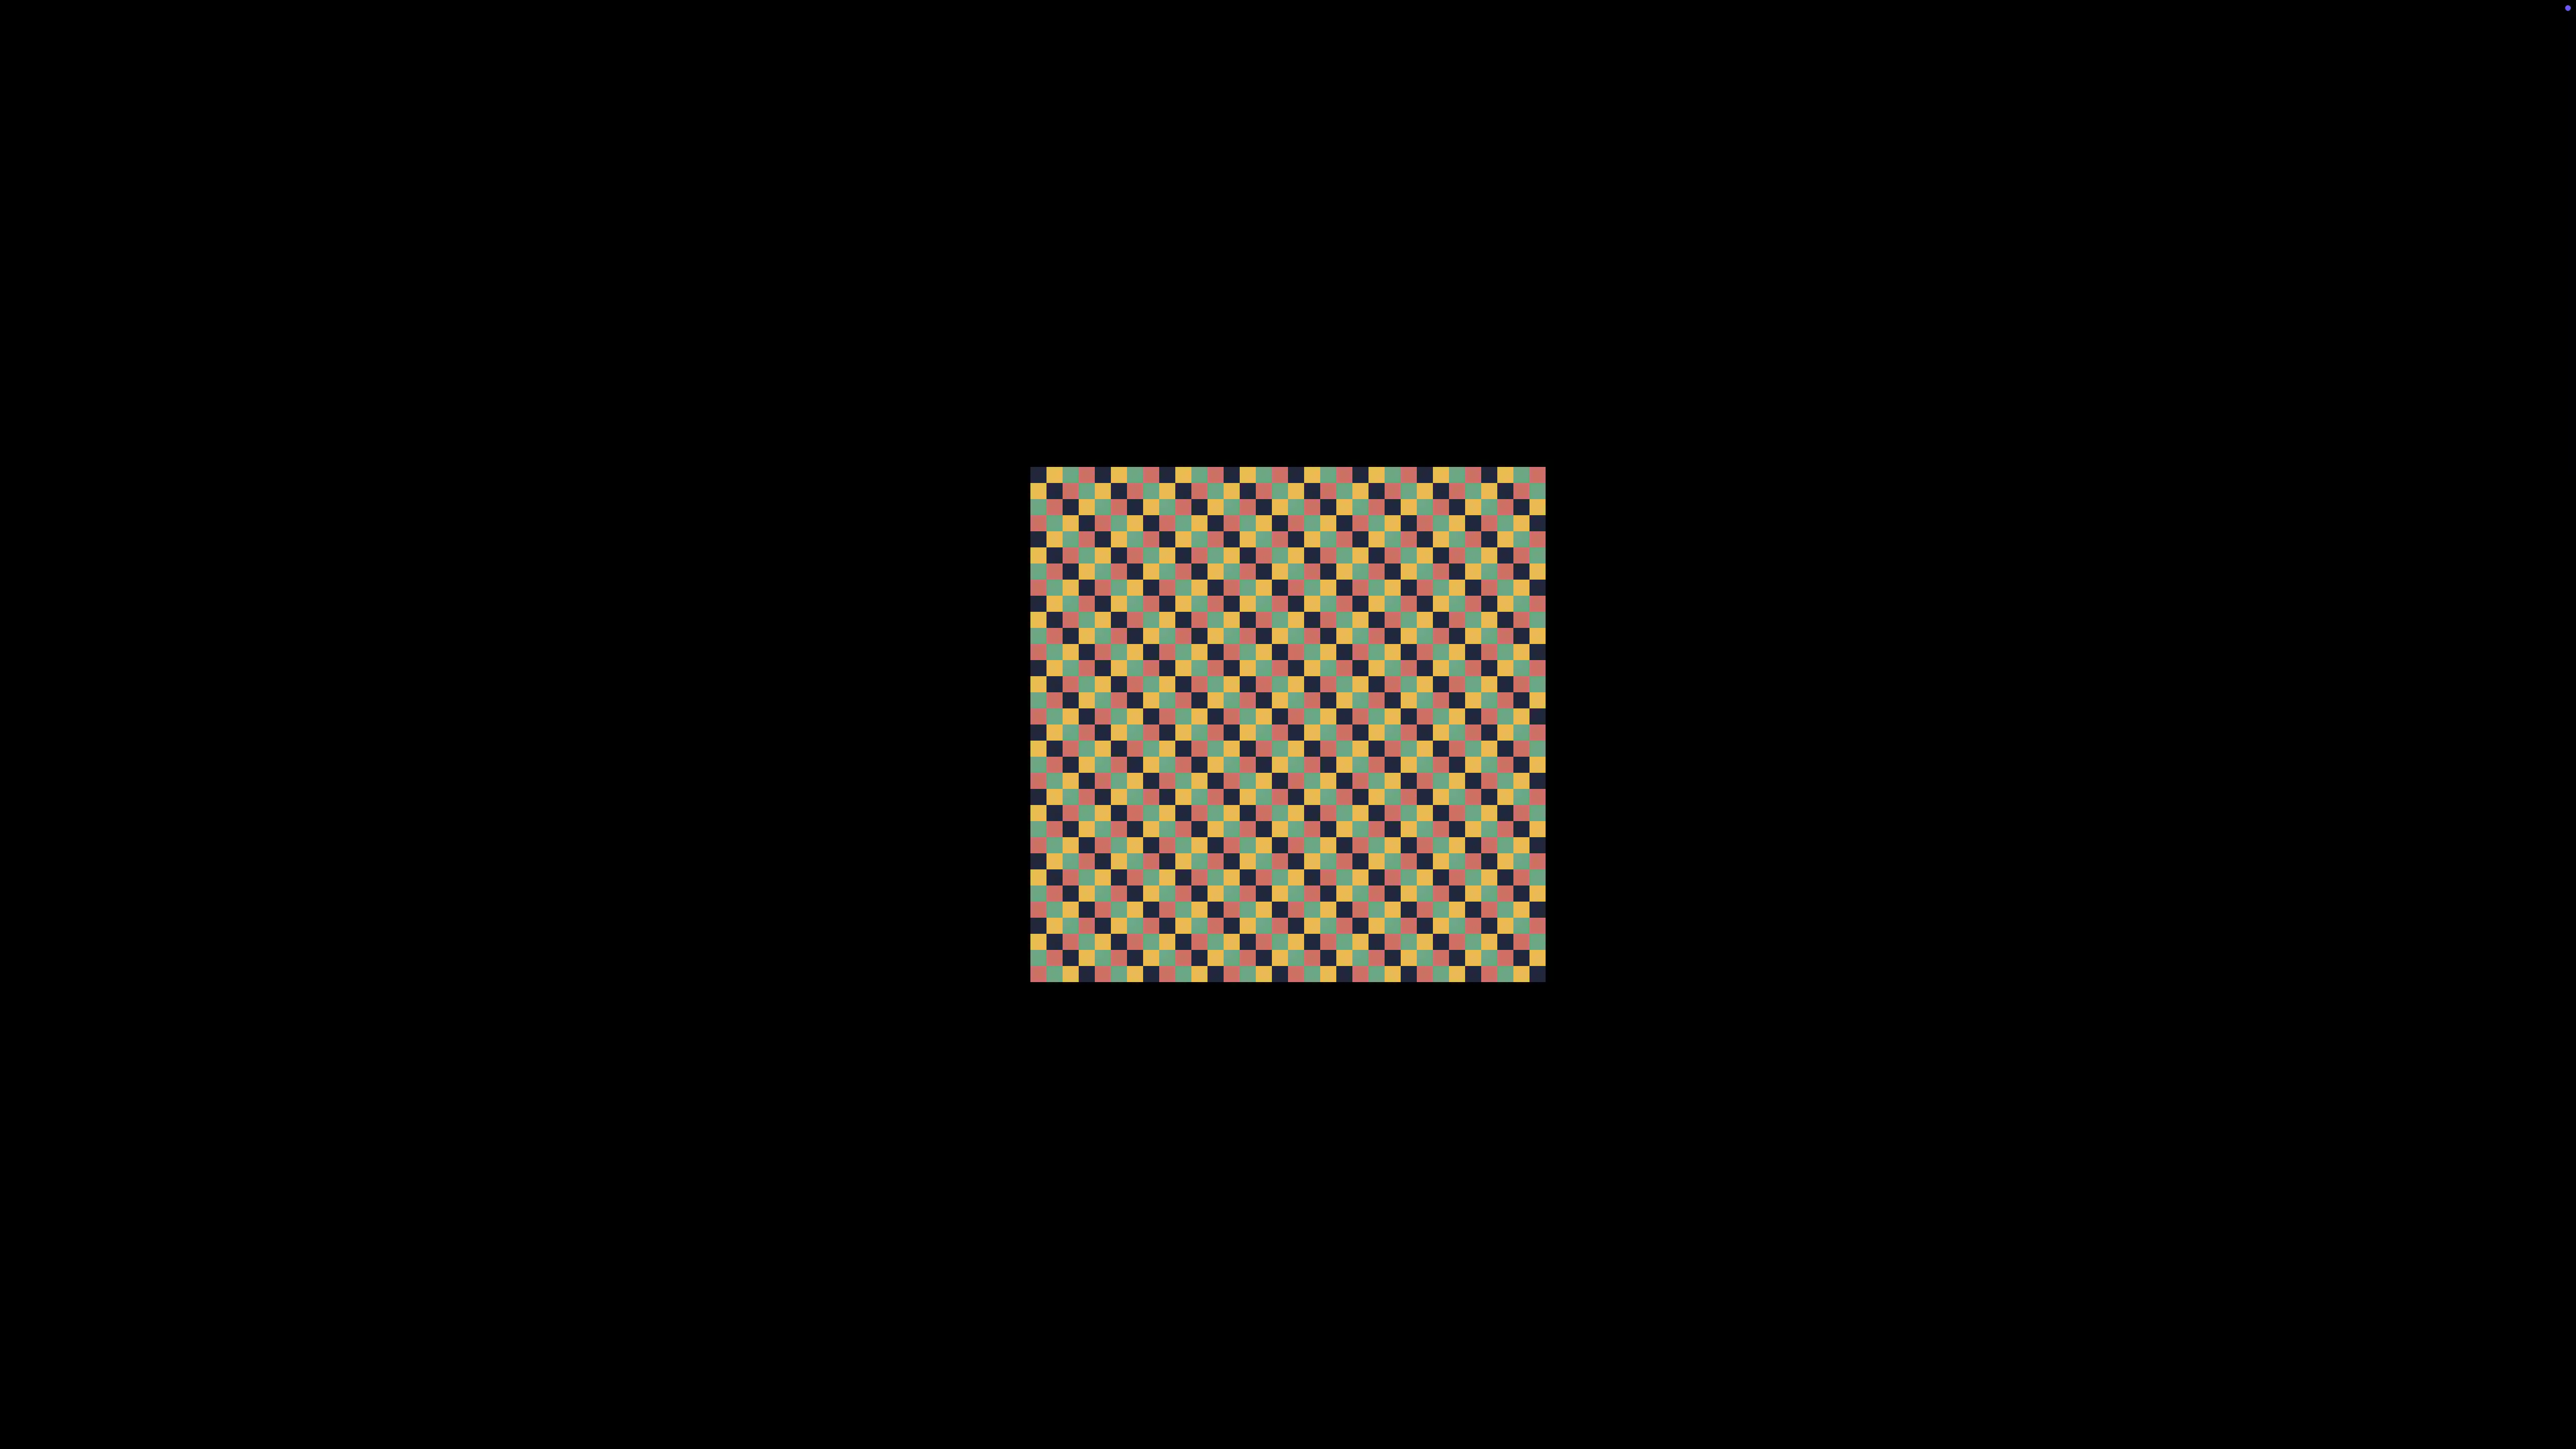
The whole XDR output shows the source at a 2× enlargement with Integer Scaling enabled; this still does not measure panel sampling or performance.
For a movable PIP instead, Integer Scaling uses the same sampling choice, but window dimensions and later backing scale still determine the ratio. Snap to 25% Steps only helps a nearby resize snap to a percentage; it does not lock a whole-number panel enlargement. See the PIP reference before changing that separate workflow.
Try a compatible game after the fixture
First stop the trial stream, let pending starts or mode changes settle, then stop it again and verify it is inactive. Only then replace the harmless source image with a compatible game you are authorized to use. Record the game’s existing resolution, display, window/full-screen and graphics settings. Select the actual virtual source and a supported low-resolution mode that gives a whole-number ratio to the receiver; begin windowed if possible. Restart only the trial stream and inspect the actual game output.
A game can blur its own scene before capture, refuse a virtual display or exclusive full-screen capture, or produce protected content that cannot be captured. Nearest-neighbor sampling cannot recover detail already smoothed by the game. Test movement and input responsiveness yourself; a virtual refresh-rate selection or Target FPS request does not establish delivered game frames, latency or stability.
Troubleshooting
- Integer Scaling seems to do nothing: verify the source’s pixel dimensions, not just its logical resolution. A 1920 × 1080 HiDPI source may already have as many backing pixels as the 4K receiver. Use the distinct source-to-receiver stream, with Video Filters off and no custom filters; self-stream/filter-window workflows are different. See the integer-scaling FAQ.
- Edges remain blurred: inspect the original image or game rendering first. Then check crop, transforms, Zoom, Underscan, custom filters and any scaled receiver or panel mode. Nearest-neighbor sampling does not undo upstream blur, and subsequent filtered resampling can smooth edges again.
- Blocks are hard but uneven: the final ratio is probably fractional in one or both directions. Free Aspect Ratio can also distort the two axes. Restore the full-fit settings and verify the actual source/output geometry.
- The stream is black, missing or unstable: stop it and keep physical recovery visible. Verify screen access, the connected source and receiver, and capture compatibility with the harmless fixture before trying the game again. A saved target or mode is not proof of an available capture source. If a trial causes repeated instability, stop and restore it instead of disabling connection safeguards.
- The view returns during private work: turn off the trial’s Resume Stream on Connect, let pending restart/menu/capture work settle, then stop again and verify the overlay is gone. Hide and Pause are not privacy boundaries. Other configuration changes or wake can restart capture; a Target FPS-only capture restart preserves pause, which still does not make pause a general privacy guard.
Undo, stop and remove the trial
- Stop trial game input and other actions that can restart or change the stream. Turn off its Resume Stream on Connect. Let already dispatched starts, source selection, display changes and menu callbacks settle. Choose Stop Streaming again in the exact trial entry and verify it is inactive before private source work.
- While the virtual source remains connected, restore any changed game settings and move the original image/game windows back to a visible physical desktop. Restore Preview’s original scale definition and document viewing scale. Keep the file itself unchanged.
- After pending menu work has finished and the trial is stopped, choose Remove Stream Configuration only in the new additional entry. Removal is deferred after the menu closes; wait until that entry is actually gone. Preserve every original default/additional stream and PIP.
- Open Settings > Displays > [new virtual source] > Discard…, then Discard Virtual Screen. Discard only this fresh definition; do not use Discard & Remove Color Profile. Turning off Connect this virtual screen instead disconnects it while retaining the definition.
- After connection and stream callbacks settle, restore only changed current physical and pre-existing virtual modes, origins, main display, window positions and affected original stream states. Restore individually paused rules, the recorded global native-mode/virtual-screen choices and built-in auto-disconnect policy after safe physical recovery is confirmed.
- Keep an original current value independent from a different protected target. If ordinary targeted UI cannot recreate both, leave only the affected rule off, preserve the private original record or backup and report the precise limit. Treat an originally absent or nil saved field the same way; its displayed fallback is not its original stored value. Do not use a global reset, Forget or Import to undo this trial.
Related pages
- Can I use integer scaling for games or pixel art?
- Integer scaling and whole-number geometry
- Stream Display / Stream Virtual Screen
- Picture in Picture
- Two independent virtual desktops and their views
Additional information
This section explains feature availability and platform requirements.
Features requiring Pro license
Streaming and the Integer Scaling, mapping, geometry, filter and capture preferences used here require Pro or an applicable trial. Basic virtual-screen creation and connection are available without Pro; custom virtual configuration and naming require Pro. PIP and its sizing/sampling preferences require Pro if you choose that separate alternative. Stopping and removing an additional trial stream remain available for cleanup.
Platform compatibility
The documented app requires macOS 26.3 or later. The source mode, capture permissions, compatible app and actual receiver output must all be available on your Mac. The ordinary SDR virtual-screen, streaming and Integer Scaling features described here are available on both Apple silicon and Intel Macs, subject to actual supported modes, capture and receiver output. The first-connection layout-restoration behavior described above differs on Apple silicon. Game compatibility, final physical-pixel mapping and performance remain dependent on the actual setup.