Video Filters and Stream Transformations
Use these settings to change how a stream or window presents its image: adjust its colors, add an effect, or change its orientation and size. Each configuration keeps its own choices, so two copies can look different. These adjustments do not change the original display's hardware settings or the source files.
Where to find it: Enable Video Filters inside Stream Display, Picture in Picture, or Stream Selected Content. Filters are always available for Self-Stream + Video Filters and Tools > Video Filter Window. The same settings also appear in supported output-window context menus.
Adjust a setting to see its effect; changes apply as you make them and are saved automatically. Ordinary filter adjustments need no Apply button. Switching filtering on or off, or changing its processing path, restarts an active capture. See Sliders for shared slider interaction and reset markers.
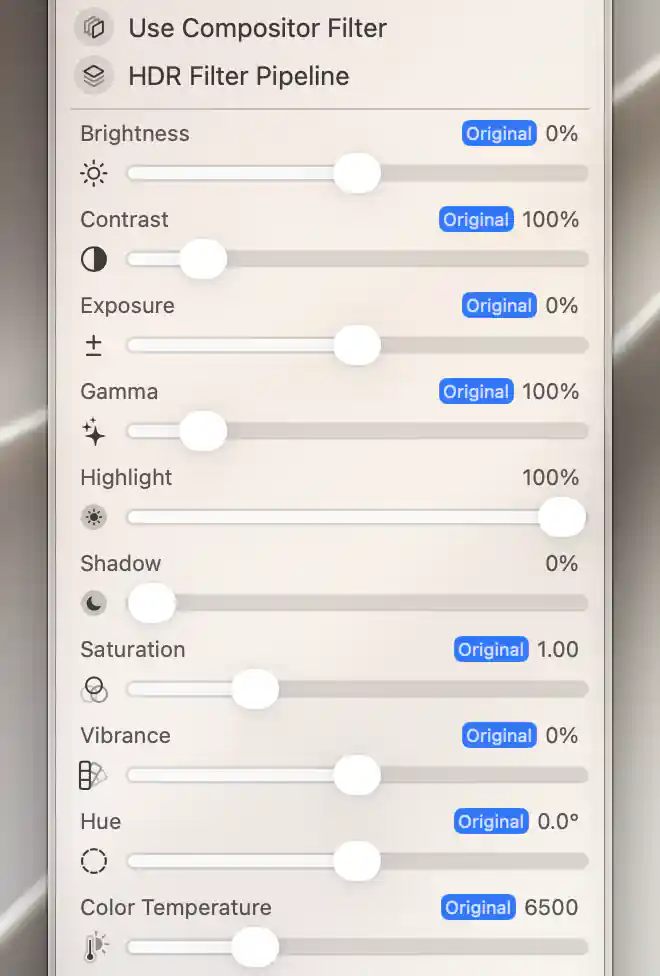
The capture pipeline provides tonal and color adjustments, shown here at their neutral values.
Processing path
The processing path determines how BetterDisplay obtains and filters the image. For most adjustments you can work directly with the settings below; self-streaming and Video Filter Window also let you choose Use Compositor Filter.
A compositor filter adjusts the content behind the overlay without the ordinary screen-capture stream. This option starts on for a new Video Filter Window and off for a display stream. While it is active, Target FPS and HDR Filter Pipeline are absent because those choices belong to the capture path.
HDR capture filtering
HDR Filter Pipeline is available on Apple silicon when capture filtering is used. It starts off and selects the HDR processing path. An enabled custom LUT that requires HDR can also activate that path.
Tonal and color adjustments
Start with these adjustments when you want to change the balance of light, dark and color in the image. Each has its own neutral setting: the initial and reset value at which that individual effect adds no adjustment. You can combine effects, then return an individual slider to neutral without giving up the others.
The table uses the values shown in the menu. Percentage labels are adjustment scales, rather than measurements of panel brightness or guaranteed percentages of physical light.
| Setting and effect | Displayed range | Neutral |
|---|---|---|
| Brightness shifts image brightness. | −100%–100% | 0% |
| Contrast changes separation of lighter and darker values. | 0%–800% | 100% |
| Exposure adjusts image exposure. | −800%–800% | 0% |
| Gamma changes the tone curve. | 0%–800% | 100% |
| Highlight adjusts highlight treatment. | 0%–100% | 100% |
| Shadow adjusts shadow treatment. | 0%–100% | 0% |
| Saturation changes color intensity. | 0.00–4.00 | 1.00 |
| Vibrance adjusts color vibrance. | −100%–100% | 0% |
| Hue rotates color hues. | −180°–180° | 0° |
| Color Temperature shifts color temperature. | 2000–20000 | 6500 |
| Sepia applies a sepia treatment. | 0%–100% | 0% |
| Color Posterize reduces tonal/color levels as lowered. | 2%–100% | 100% |
Texture and stylized effects
These effects change detail, pattern or the image's overall treatment. For example, Gaussian Blur softens detail, while Vignette darkens the image toward its edges. Combine them as needed; resetting one effect does not disable the rest.
Several of these sliders show percentages for effect size or strength. Their numbers are not interchangeable: Vignette and Gaussian Blur, for example, have different displayed ranges. Use each effect's own range and neutral value as your reference.
| Setting and effect | Displayed range | Neutral |
|---|---|---|
| Vignette darkens the image toward its edges. | 0%–1% | 0% |
| Pixellate forms square pixel blocks. | 1%–100% | 1% |
| Crystallize forms irregular crystal cells. | 0%–50% | 0% |
| Hexagonal Pixellate forms hexagonal cells. | 1%–100% | 1% |
| Pointillize forms a point-based image. | 1%–100% | 1% |
| Edges emphasizes detected edges. | 0%–20% | 0% |
| Edge Work creates an edge-based treatment. | 0%–10% | 0% |
| CMYK Halftone makes a color halftone pattern. | 1%–100% | 1% |
| Dot Screen makes a dot-screen pattern. | 1%–100% | 1% |
| Hatched Screen makes a hatch pattern. | 1%–100% | 1% |
| Line Screen makes a line-screen pattern. | 1%–100% | 1% |
| Noise Reduction smooths noise. | 0%–20% | 0% |
| Gaussian Blur softens detail. | 0%–100% | 0% |
| Motion Blur produces directional blur. | 0%–100% | 0% |
| Unsharp Mask adjusts sharpening radius. | 0%–25% | 0% |
| Sharpness sharpens luminance detail. | 0%–10% | 0% |
| Bloom adds a bright glow. | 0%–10% | 0% |
| Gloom adds a dark, diffused treatment. | 0%–10% | 0% |
Photo treatments and effect switches
Enable Photo Effect to choose a photo treatment. Its choices are Photo Effect - None, Photo Effect - Noir, Photo Effect - Chrome, Photo Effect - Instant, Photo Effect - Fade, Photo Effect - Transfer and Photo Effect - Process. It starts at None, with Photo Effect off.
The separate Invert Colors, Monochrome, Thermal, X-Ray, Median and Comic Effect switches can combine with your other filters. All start off. Median is a noise/detail filtering option rather than a color preset.
Blend modes and imported LUTs
Blend the filtered and original images
Customize Blend Mode combines the filtered image with its original image using a selected blending operation. It starts off. The choices are Blend Mode - None, Blend Mode - Multiply, Blend Mode - Screen, Blend Mode - Overlay, Blend Mode - Soft Light, Blend Mode - Hard Light, Blend Mode - Difference, Blend Mode - Exclusion, Blend Mode - Color, Blend Mode - Hue, Blend Mode - Saturation and Blend Mode - Luminosity.
Blend Mode Opacity controls the contribution of that blend, from 0% to 100%, initially 100%. It is separate from the output's overall Alpha.
Apply imported LUTs
Custom LUT filters: appears when imported LUTs are available. Turn on a named LUT to include it in this configuration. You can enable several together; they are applied in the imported list's order, after the standard effects and blend result.
Use Manage… to open the custom LUT management sheet under Settings > Displays > Overview. A selected LUT can keep filtering active even when the ordinary Video Filters switch is off.
Reset the effects
Choose Reset Video Filters to return the effect sliders and switches to their neutral defaults. It also turns Photo Effect and custom blending off and deselects all custom LUTs. The reset takes effect immediately, without a confirmation dialog.
The stored Blend Mode Opacity is kept while blending is disabled. The reset does not delete imported LUT definitions or reset processing-path switches, window geometry, crop, rotation, Alpha or Target FPS. You can therefore reset the effects without rebuilding the output's placement and transformation settings.
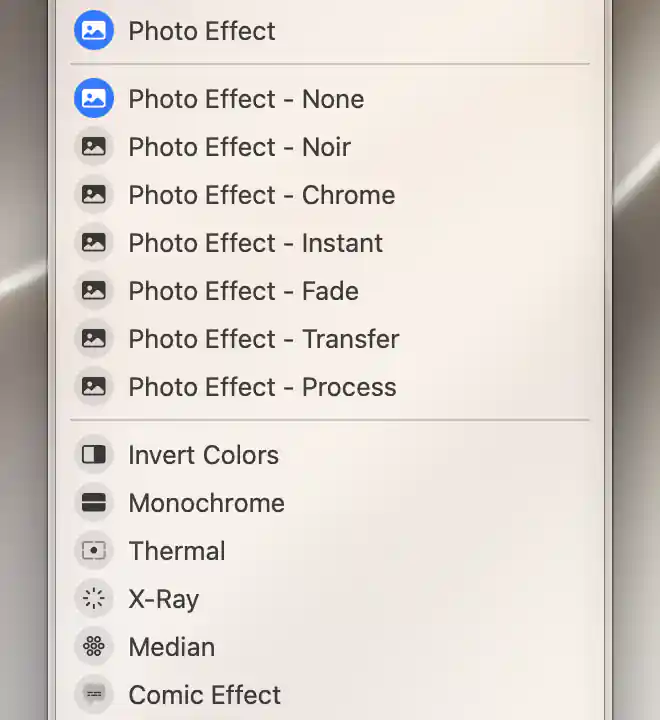
Photo Effect offers preset looks alongside separate effect switches.
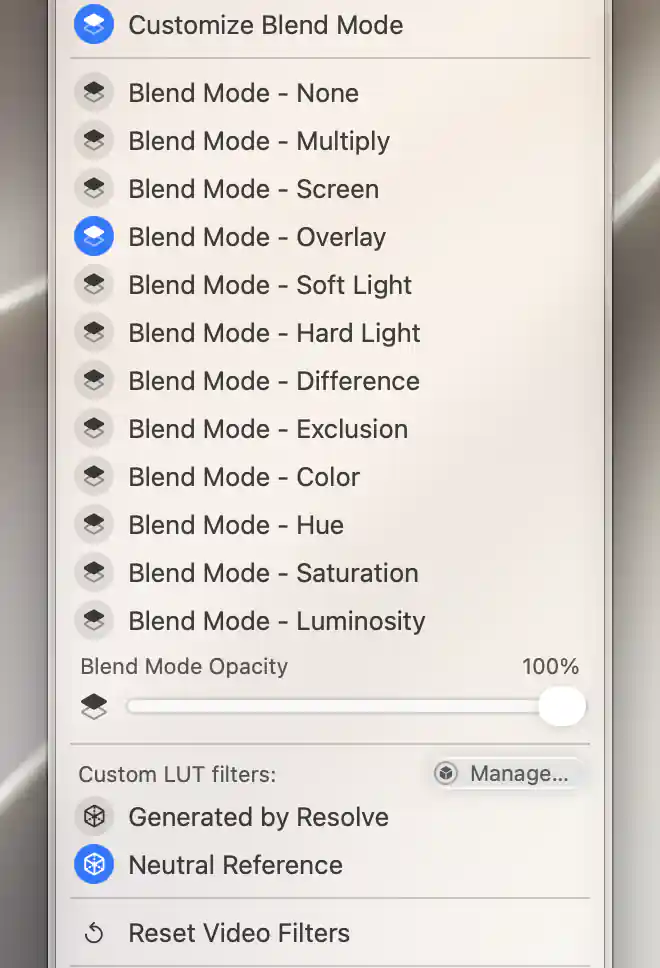
Blend modes and opacity combine with independently selectable custom LUT filters.
Shared transformations and output limits
Orientation and placement
Flip and rotation change the presented image independently of the source display's rotation. The two flip buttons act horizontally and vertically. Rotation selects 90°, 180° or 270°, with a reset button returning to 0°.
Horizontal and vertical alignment place the image within unused space and start centered. Free Aspect Ratio disables these alignment choices.
Image size within the output
Zoom changes the fitted image size from 10% to 300%, starting at 100%. Its snap marks are 0.5×, 1×, 1.5×, 2× and 2.5×. It applies to ordinary full-display streams, and appears for PIP or selected-content windows only while they are actually full screen.
Underscan scales a full-display stream from 10% to 200%, with 100% neutral. The window equivalent is Magnification, which enlarges content within its window from 100% to 200%.
Self-streams omit those size options. Video Filter Window also omits them because its own position and size select the area to filter.
Opacity and capture rate
Alpha sets overall opacity from 0% (transparent) to 100% (opaque), initially 100%. It changes appearance only; it does not itself enable mouse click-through.
Target FPS limits the capture frame-rate from 1 to 200 fps. Snap marks are provided at 25, 30, 50, 60, 90, 120, 144 and 165 fps. The default, Unlimited (∞), removes this app-imposed limit without guaranteeing a particular achieved frame rate. Changes can restart capture after a short delay. Compositor filtering has no captured-frame-rate setting.
The owning Stream Display, Picture in Picture, Video Filter Window and Stream Selected Content pages explain which of these features their output supports.
Additional information
This section explains which features require Pro and how availability differs between Mac platforms.
Features requiring Pro license
- Video-filter adjustments and processing-path choices.
- Transformations and output-limit settings.
- Custom LUT selections and Reset Video Filters.
Platform compatibility
The shared filters and transformations are available on both Apple silicon and Intel Macs, except that HDR Filter Pipeline requires Apple silicon and capture filtering. An HDR-requiring custom LUT can also activate that processing path on Apple silicon.
Use Compositor Filter is offered only for self-streaming and Video Filter Window. The options available in each output depend on its type and mode, as described above; capture-based output also depends on the relevant macOS capture access.