Device Control
Device Control gives you access to settings and commands supplied by the selected display's hardware controllers. You can adjust a monitor's own controls, operate a virtual remote, or use custom commands you have configured. The list follows the controllers assigned to that display and the individual features you enabled.
Where to find it: App Menu > display > Device Control. Menu customization calls this section Hardware Control.
The display must be connected and have DDC, integration or another external controller. A listed command is an available control path, not proof that the receiving display supports the command.
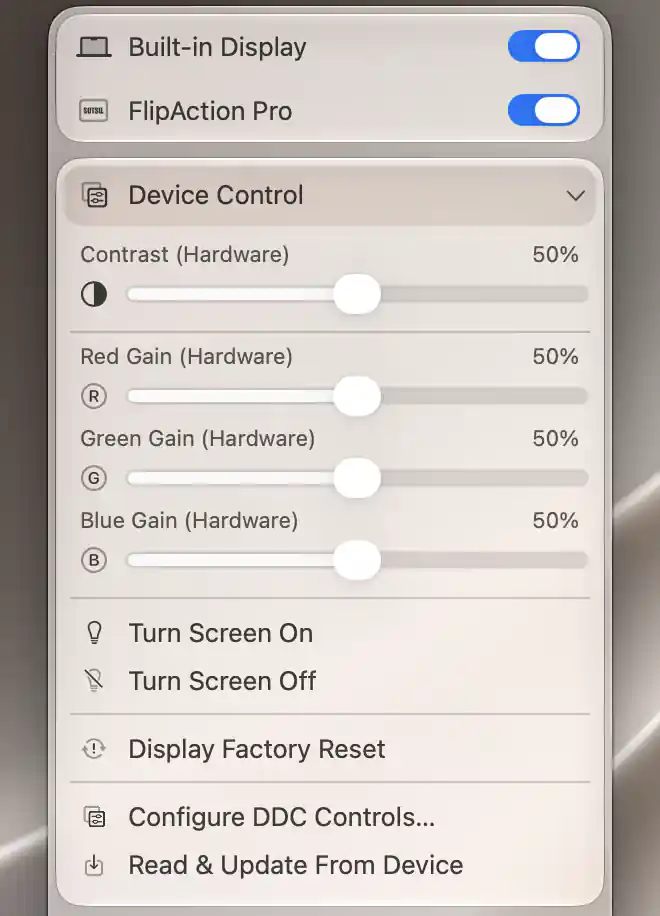
Device Control exposes the supported hardware contrast and RGB gain controls for the selected display.
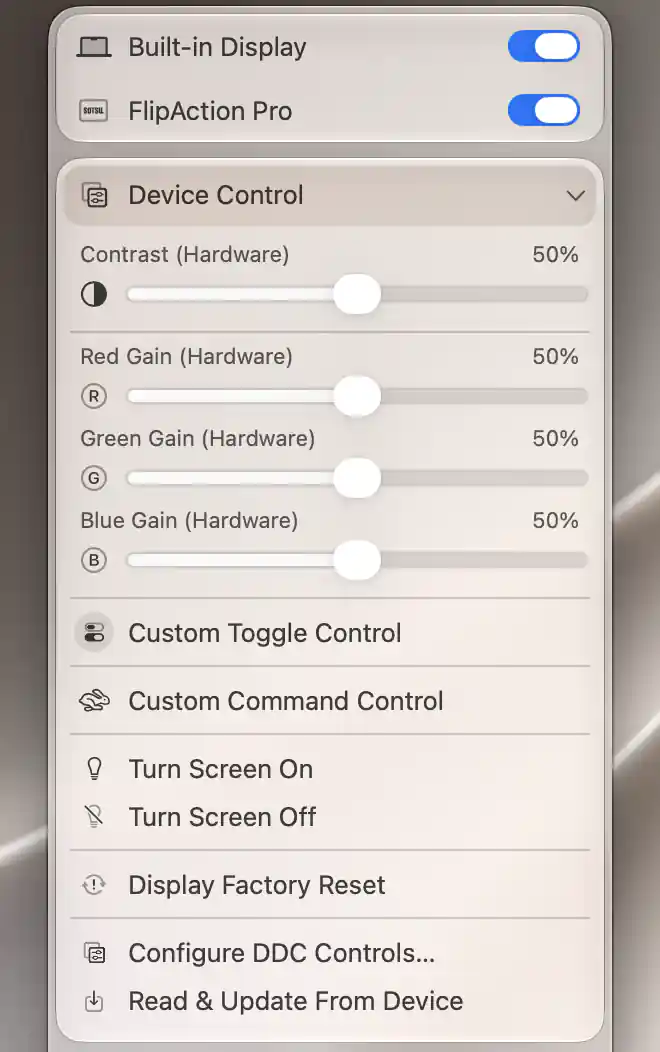
Configured custom switch and command examples appear alongside standard DDC controls.
Sliders, switches and commands
The display's own adjustments
Brightness (Hardware), Contrast (Hardware), Saturation (Hardware), Volume, and red, green and blue gain or black-level sliders appear when their current controller supplies them. These change settings on the display itself. Saturation, for example, changes color intensity through the hardware controller rather than applying a software image effect.
Brightness, contrast and volume are left out here when they already appear among the main device-menu sliders. A combined brightness slider also takes the place of a separate hardware-brightness row, avoiding two sliders for the same adjustment.
RGB gain and black-level let you adjust individual color channels. Their useful ranges and neutral values depend on the display and its configuration, so a number on one monitor need not mean the same thing on another. The common slider instructions explain entering a value, making fine adjustments and returning to a neutral point.
Additional configured controls
Additional controls can be sliders, on/off items or one-shot commands. Their names and icons come from their configuration. An on/off item changes its stored state; a command sends an action without maintaining a checked on/off state. For example, a configured command is something you issue when needed rather than a preference you leave enabled.
When an integration assignment duplicates a custom DDC assignment, the integration assignment takes precedence in this section. DDC values and neutral settings are retained per display. DDC settings determine how those stored values are handled at startup and wake.
Volume Up, Volume Down and Toggle Mute form a group whenever a controller supplies at least one of them. Unsupported members are disabled. These are remote-style relative commands; having them does not mean the device can report or accept an exact volume percentage.
Display power and screen control
Power and screen controls are different operations. Turn Display Off sends the DDC power-off command when that feature is enabled. Its confirmation explains that some displays do not support the command or behave unexpectedly, and that you must turn the display on again manually. The main display, or the only connected non-virtual display, receives the main-display version of the confirmation.
Turn Screen On and Turn Screen Off instead use the assigned screen/backlight controller. For DDC, the Screen Control confirmation warns about compatibility and the possibility that the app cannot turn the screen back on. Turning off the main or only non-virtual display adds Turn Screen Off?.
A non-DDC screen controller performs its action directly. These entries are shown within the available-DDC-controls group when a backlight controller exists.
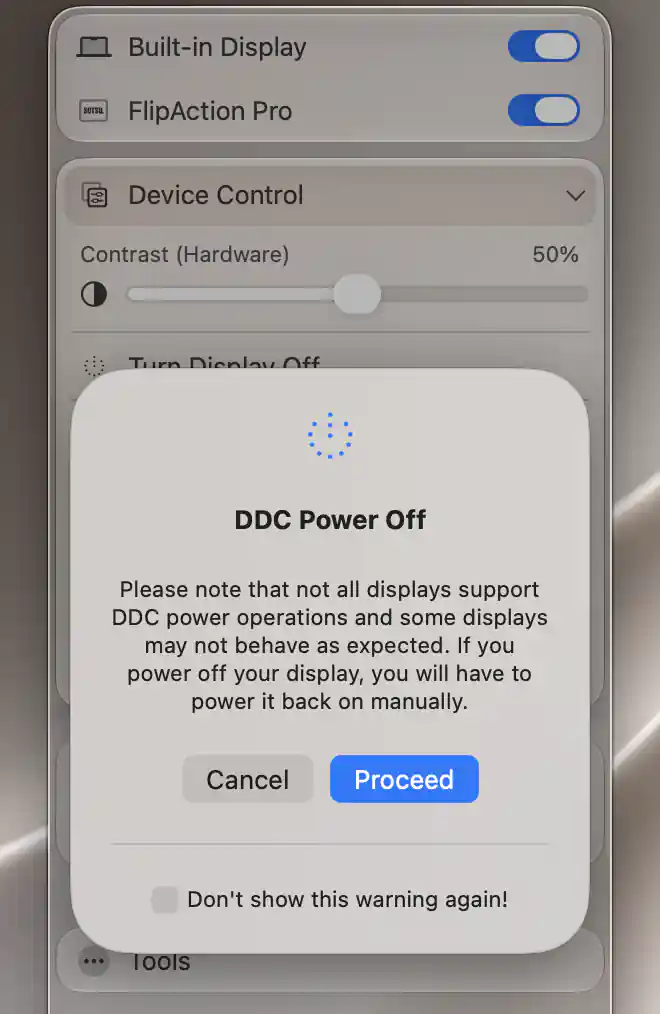
The DDC Power Off confirmation warns that the display may need to be powered back on manually.
Virtual remotes
A virtual remote sends buttons to the device much like its physical remote. Choose Show HDMI-CEC Remote, Show LG Remote, Show Samsung Remote or Show Philips Remote to expand the corresponding controls. Visibility is remembered separately for each controller.
LG, Samsung and Philips remotes have a bottom chevron for the numeric keypad and colored buttons. That expanded state is remembered too. The remote keeps its physical left-to-right button arrangement even when the interface language reads right to left.
The controller determines the available keys and connection requirements:
- HDMI-CEC: wake, standby, four directions, OK, Home, setup menu, contents menu, Exit, volume up/down and mute. The separate Wake HDMI-CEC Device and Put HDMI-CEC Device to Standby rows require the controller's power-control option. The remote's own power and volume keys remain available independently of the automatic power and volume-control preferences. Commands are enabled while the display is connected; the connection-status report in Settings provides additional diagnostics.
- LG webOS: wake using Wake-on-LAN, power off, volume, mute, channels, Info, Home, settings, directions, Enter, Back and Exit. The expanded remote adds digits, captions, asterisk and four colored function keys. Most keys require a usable network connection and pairing state; wake instead requires a known or configured device MAC address. Opening the remote attempts reconnection. Connect LG webOS Device or Reconnect LG webOS Device is available when an IP address has been configured.
- Samsung: power, source selection, HDMI, volume, mute, channel up/down and list, MENU, Home, More, TOOLS, Info, directions, Enter, Return and Exit. Expansion adds digits, TTX/MIX, PRE-CH and colored function keys. Commands require an authorized connection. Use Connect Samsung Smart Device or Reconnect Samsung Smart Device to retry connection.
- Philips: power/standby, Ambi for Ambilight, Info, Source, directions, OK, Back, Home, picture adjustments, volume, mute and channels. Expansion adds colored keys, digits, TEXT and OPTIONS. Configure the network address first; Android-based models also require pairing.
The receiving model and its current menu decide what each device-specific button does. A remote can therefore be available even when a particular key has no effect on that model.
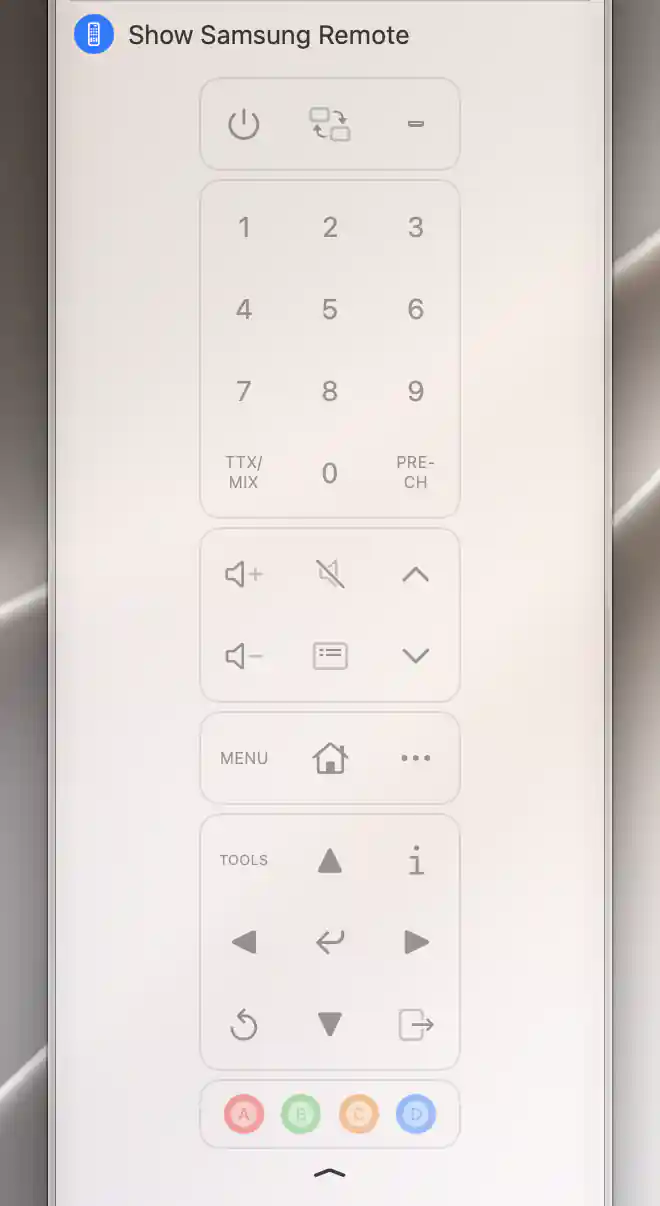
The expanded Samsung remote includes numeric, navigation and color keys; commands are disabled while disconnected.
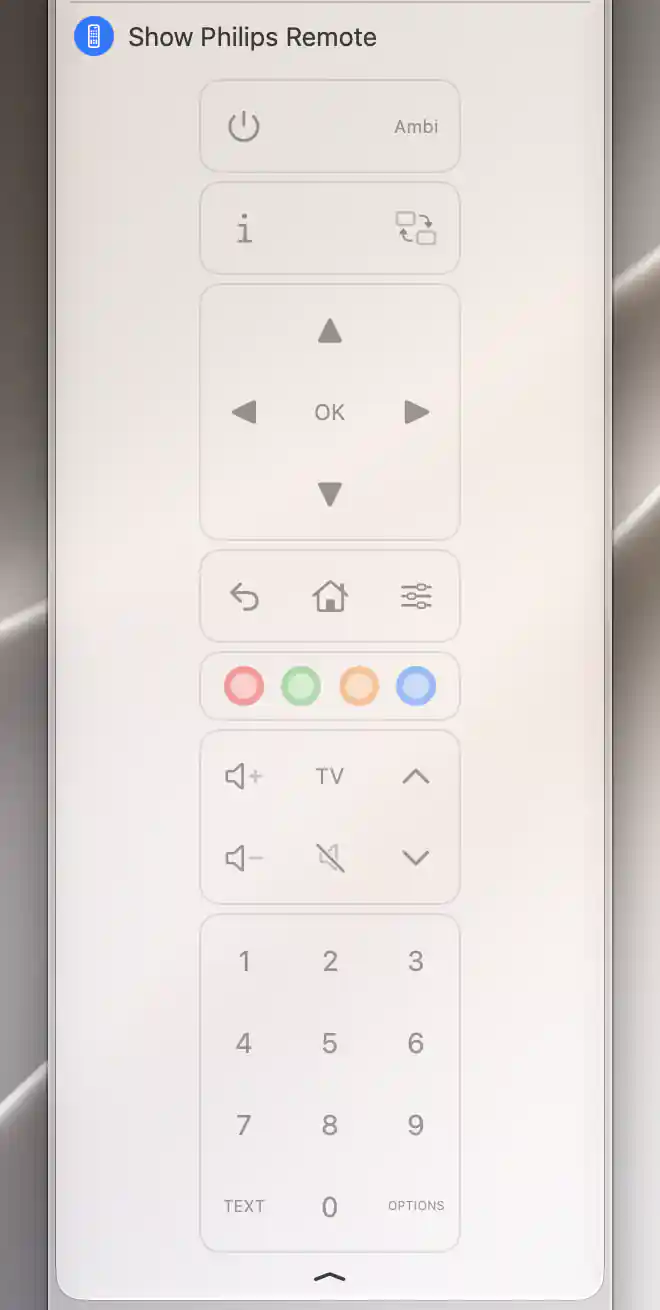
The expanded Philips remote includes Ambilight, navigation, color and numeric keys; commands are disabled while disconnected.
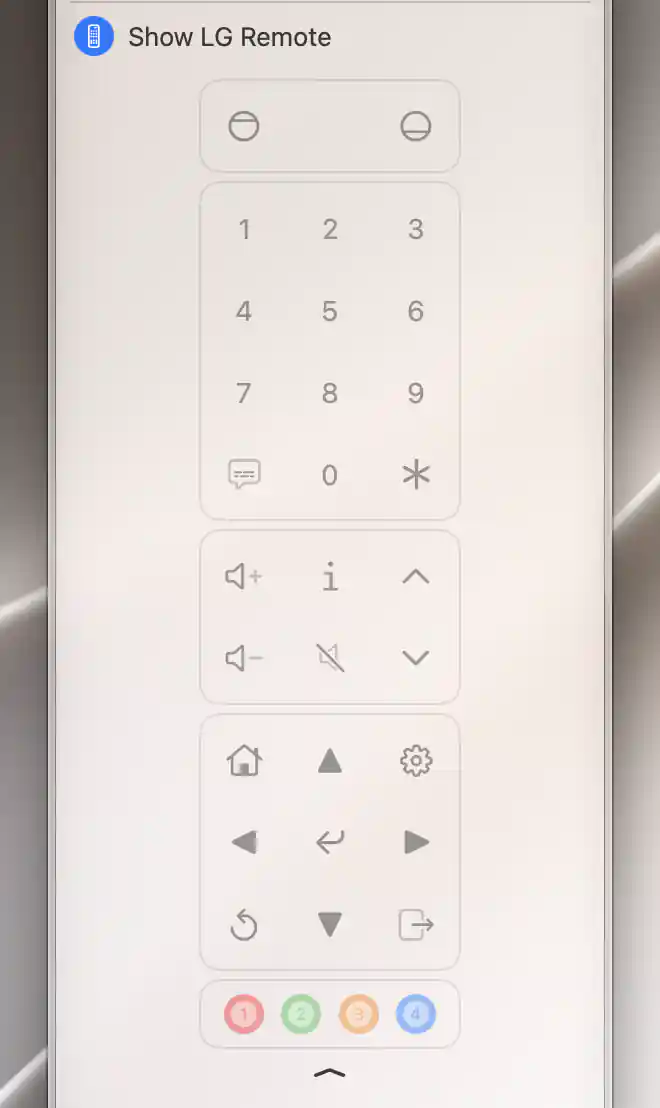
The expanded LG remote includes numeric, navigation and color keys; commands are disabled while disconnected.
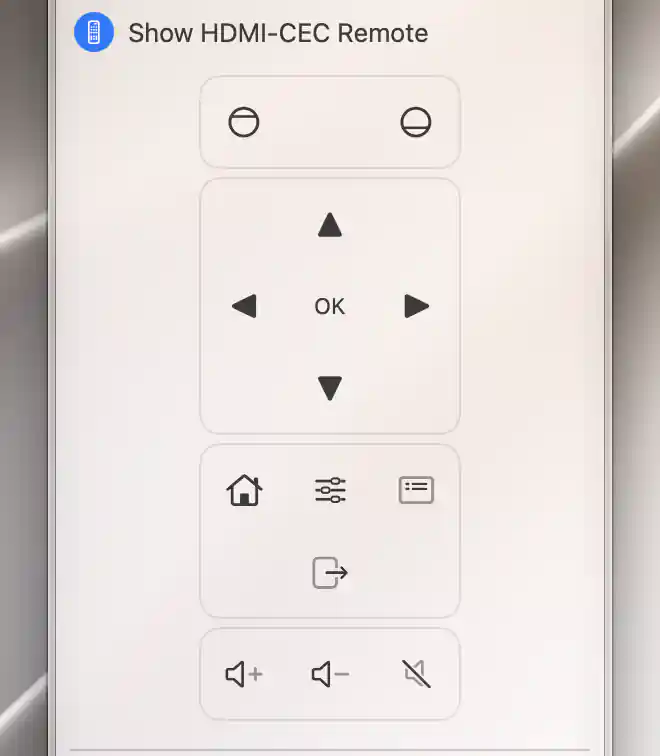
The configured HDMI-CEC remote provides navigation and volume keys; actual operation requires a supported CEC connection.
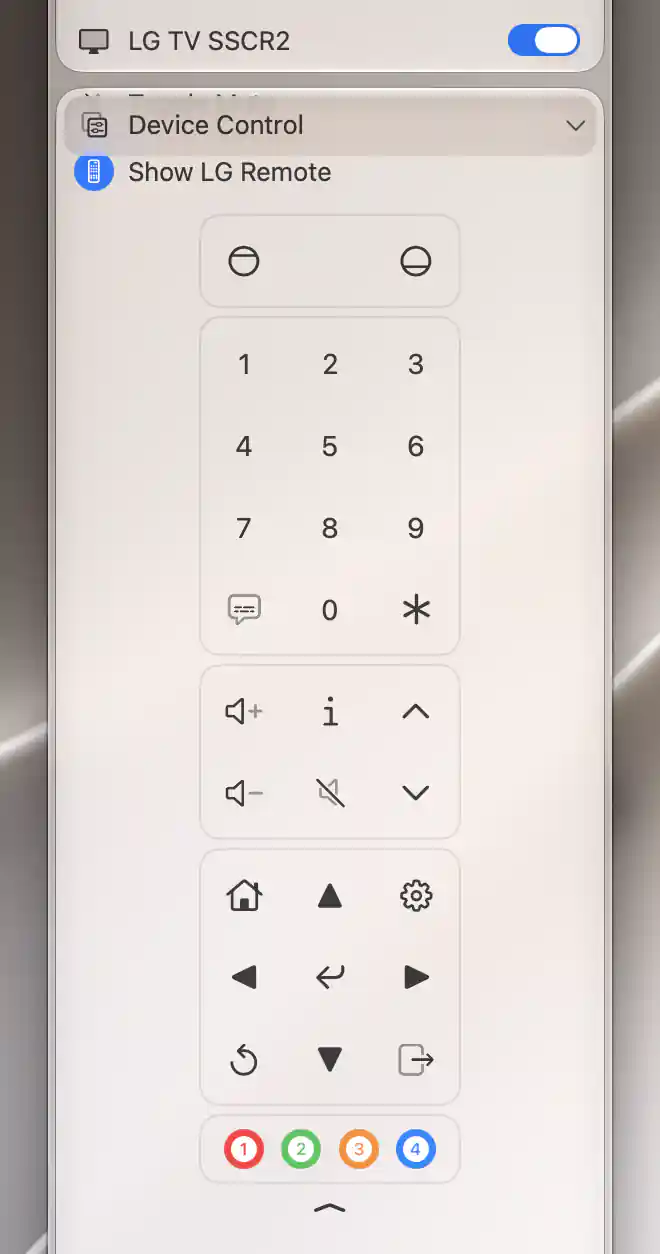
Expanded LG remote on a genuinely paired and connected webOS device.
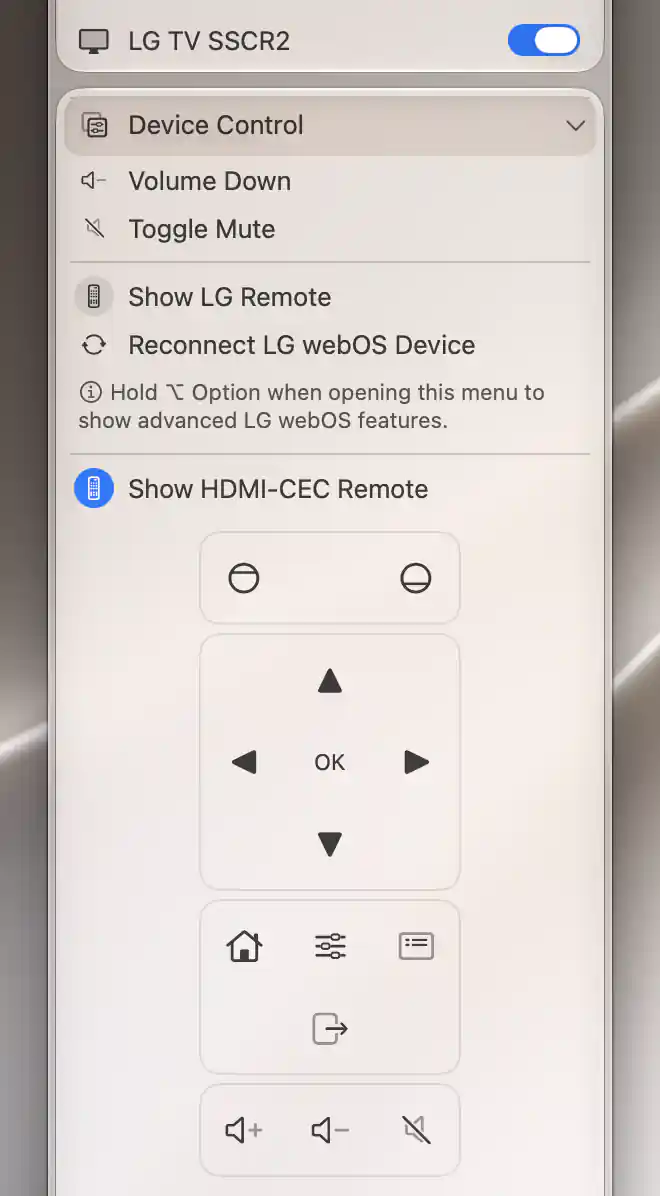
HDMI-CEC remote on an actual supported HDMI-CEC path.
Option-key service commands
The LG and Samsung controllers also offer advanced service commands. These address the device's service interfaces rather than ordinary BetterDisplay preferences.
For LG, IN START Service Menu and EZ ADJUST Service Menu request those menus on the TV. BetterDisplay's note lists commonly used passwords. When the TV asks, use the expanded remote's digits to enter the password appropriate to that device.
Full Service Menu Access opens a prompt on the LG TV with Enable, Disable and Cancel. The choice changes the device's service-menu access setting, not a per-display BetterDisplay preference.
Samsung provides separate modern and legacy sequences. Follow the relevant sequence's order:
- Modern: Enter Service Menu, then Unlock Advanced (TV) or Unlock Advanced (Monitor), then Exit Service Menu when finished.
- Legacy, for older TVs: Enter Hospitality Menu, then Unlock Service Menu, then Unlock Advanced.
Each item sends the corresponding remote-key sequence; no sequence is guaranteed to work on every model. Send WOL Signal is available when a detected or overridden MAC address exists.
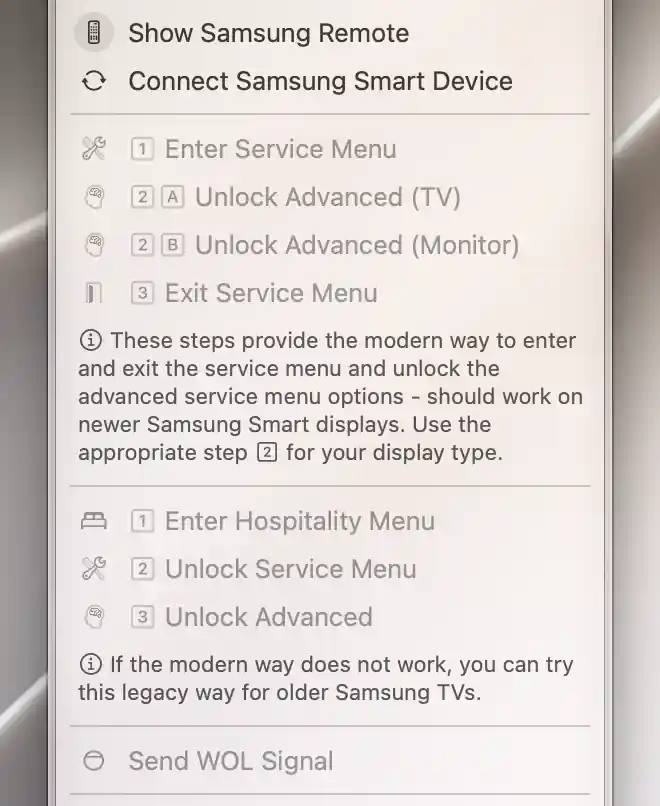
Holding Option reveals Samsung service commands and their modern and legacy instructions; commands remain disabled while disconnected.
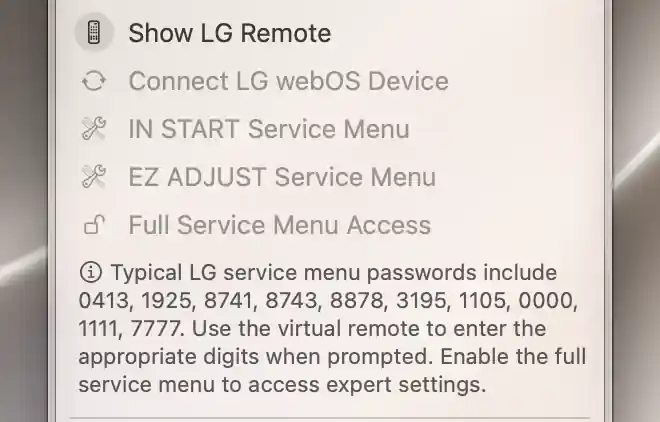
Holding Option reveals LG service commands and the service-menu note; commands are disabled while disconnected.
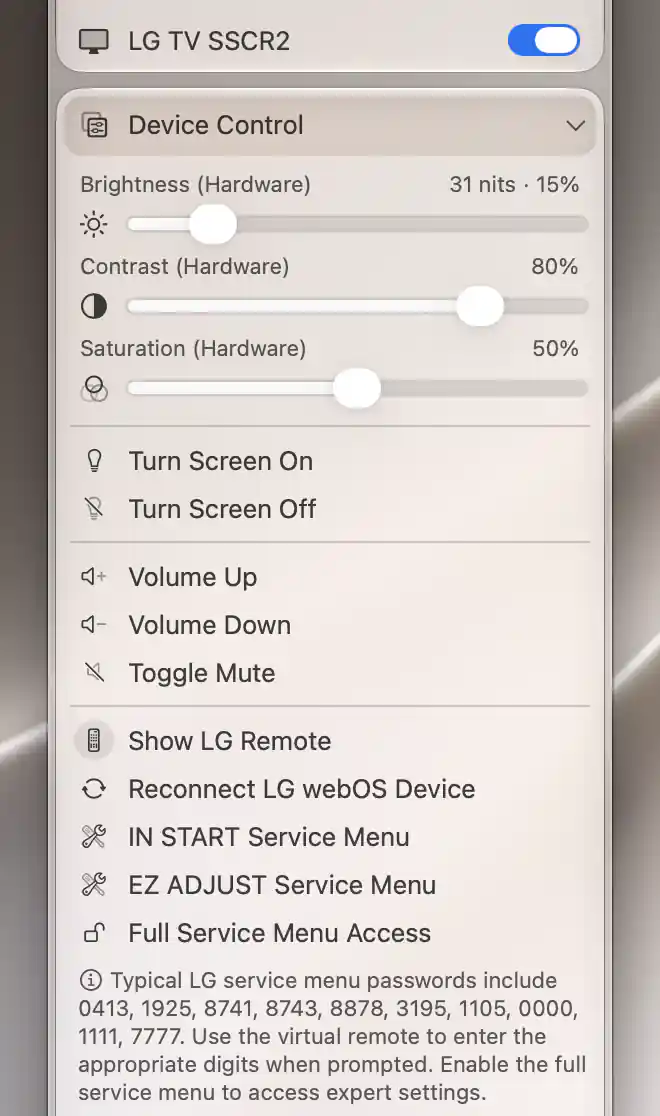
Option service-command rows and notes on a paired connected LG webOS device.
Reset, configure and read back
Factory reset and saved values
Display Factory Reset sends the display's DDC reset command after confirmation. The warning explains that the command might not work and that the display's own OSD may offer another way to reset it.
Afterward, Reset stored DDC values as well? asks what BetterDisplay should do with its saved values. Choose Reset Values to forget them and return the controls to neutral values, or Skip to retain them.
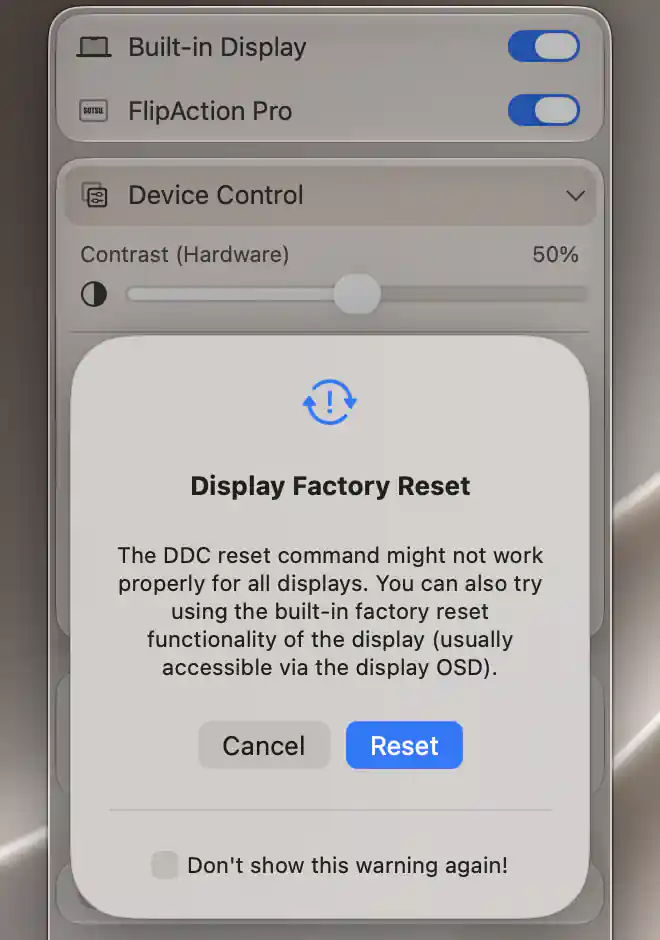
The first confirmation explains that the hardware reset command may behave differently across displays.
Configuration and readback
Configure DDC Controls…, Configure Integration Controls… and controller-specific Configure… items open the corresponding configuration sheet in Settings with this display selected. They appear only for the available or enabled controller concerned.
Read & Update From Device requests a refresh from each external controller. Readback support varies: a control can accept writes without reporting its current value. DisplayLink refreshes device discovery, but does not apply received brightness or contrast values to its sliders. A refresh request therefore should not be treated as proof that every slider now matches the device.
Related: Input Source · DDC Control · HDMI-CEC · DisplayLink
Configure pairing, network access and automatic power behavior in the LG webOS, Samsung, Philips and Yamaha AVR articles.
If volume works but mute or unmute does not, follow Fix mute and unmute on an external display for keyboard handling, hardware methods and DDC command compatibility.
Additional information
This section explains which features require Pro and how availability differs between Mac platforms.
Features requiring Pro license
- Additional custom DDC and integration sliders, on/off controls and command buttons.
Standard controller-provided hardware adjustments—including gain and saturation—do not themselves require Pro. The listed power/screen commands, virtual remotes, service commands, factory reset and readback/configuration actions also have no separate Pro gate here.
Platform compatibility
HDMI-CEC controls require Apple silicon and a supported HDMI path. The other controls described here can be available on both Apple silicon and Intel Macs, subject to the configured controller, supported display connection and device capabilities.
Network remotes still need the applicable network address, connection and pairing/authorization. DisplayLink requires its corresponding controller setup; its readback limitation applies regardless of processor family.